
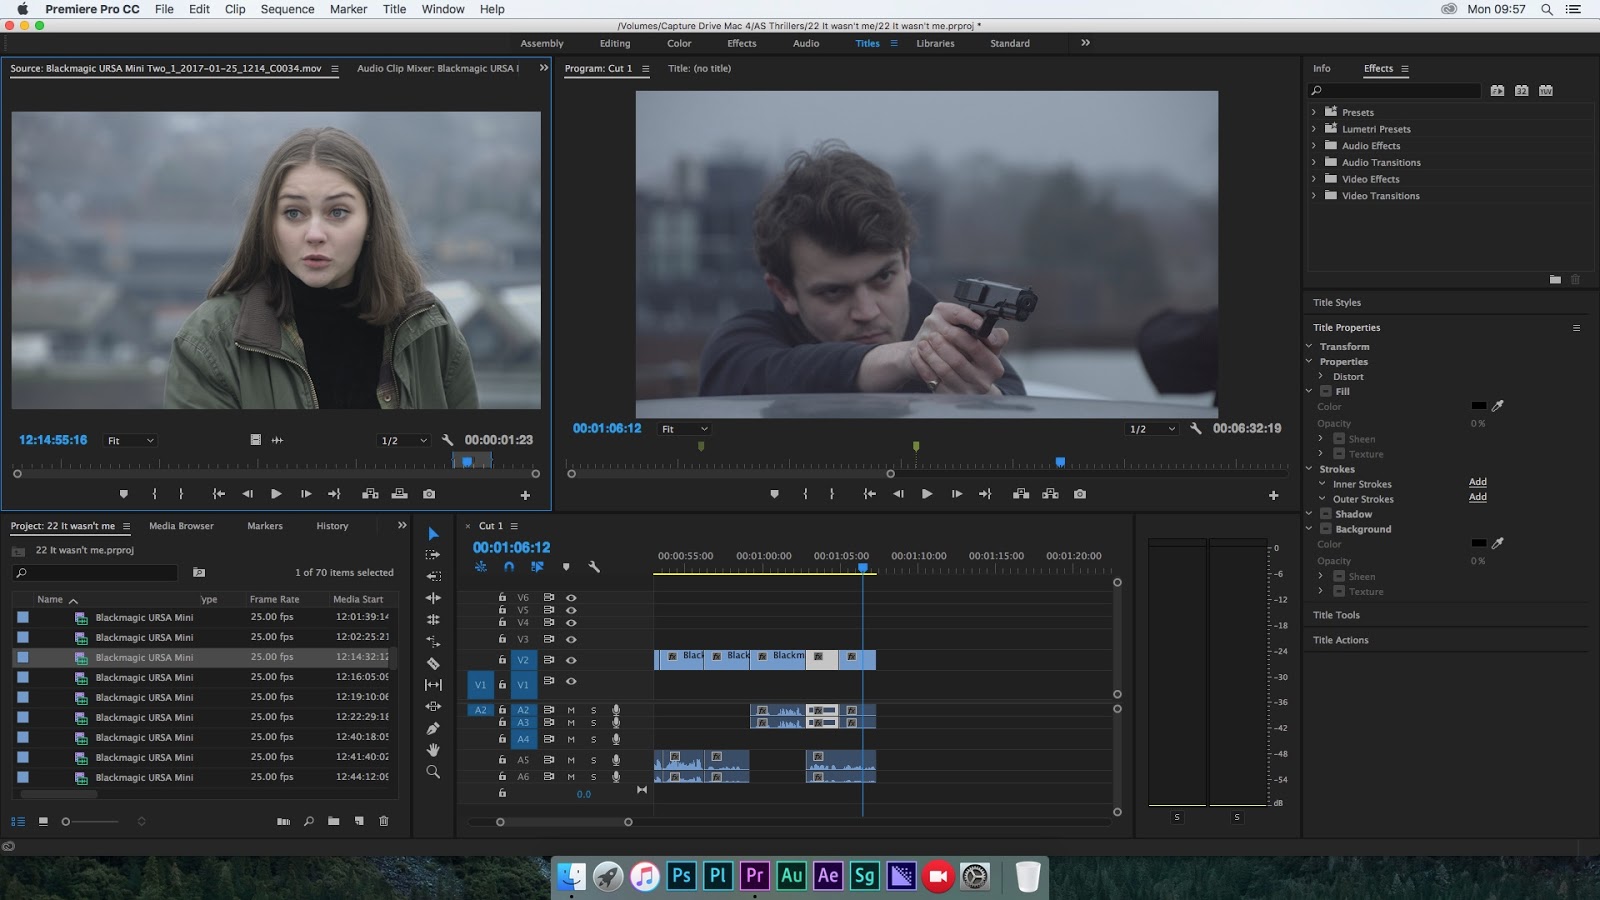
 In today's class, we were back in the edit suite for a recap on how to edit our videos so that we're ready as soon as we've shot our footage, to start our edit. It was useful to refresh ourselves with the software we'll be using, Adobe Premiere Pro, as well as reestablishing certain rules we should follow when editing the video. We looked at what the four sections of the screen are used for, the top left is where we preview the selected footage from our rushes, the top right is the preview screen for the footage we've already cut together in the timeline, the bottom left is where our bins and rushes are although for music videos we name them after the camera we use, which in our case is a Black magic mini URSA, rather than 'rushes' like in our thrillers. Finally, the bottom right is the timeline where we sync, edit and finalise our music video.
The very first thing that we have to do when editing our video is to sync up all of our footage and then name it all with simple, concise names - don't over complicate it! This way, all your footage is aligned and you can see very clearly what you want to cut to or from. There are two ways to sync your footage:

1. PICTURE SYNCING - where you go into the rushes and find the clip you want to use. Using the arrow keys, find an arbitrary number on the time code that you can sync like 00:59:52. Then go onto the timeline and find the exact moment that correlates with that number and drag the footage into the timeline. It is better to choose a capricious number like 00:59:52 rather than a more whole number like 00:59:50 because the camera may be shooting footage where the playback hasn't started yet and you end up with footage that you think has been synced but hasn't.
2. AUDIO SYNCING - using the arrow keys, listen in and find either the bass or snare beat (a strong, defined beat) then repeat this on the timeline and find that moment on the timeline then drag the footage.
It is far easier to use the picture sync as it's quicker and more reliable but sometimes you don't have that luxury so we learn both just in case.
 When editing our thrillers last year, we would simply hover over the rushes preview screen on the top left, and drag the footage onto the timeline, taking the video and sound. When editing a music video we're only interested in the video, not the sound, so we drag it instead from the little icon below.
Our teacher was quite particular with the steps we take when editing our video in terms of what cuts we make first. Last year, we all made 'rough cuts' of our openings before finalising anything. However, this year the first cut we will do will be the 'performance cut' where we focus entirely on the band/artist. After this, we can add more interesting moments or narrative to it. It's important to do this because in the industry and especially as we're promoting 'new' artists, the performance aspect is the most important, the narrative will just make the video more intriguing. The next step would be to add any effects and then colour grading. It’s important to not get carried away and start colour grading too early because you could end up colour grading footage that you don’t end up using, thus wasting time.
There are some guidelines that our teacher encourages us to use when we edit these are:
1. Right click on the sequence and make a duplicate! -- as there are three of us in a group, we can't all edit at once but any changes we make should be made as a group. So if we edit on our own, we should make duplicates so that anything we do can be added or removed.
2. Listen to the music and illustrate what the song is doing -- there are key moments in the song where the beat kicks in or slows down, where the artist sings, or there's an interesting riff on the guitar where there are specific shots that would make the biggest impact if places there.
3. The first time the singing starts you have to show the lead singer -- if you don't show the artist at the beginning, then it could look like the artist isn't featuring in the video. Also, in the industry, the artist is whom the video is promoting so the record label would insist on having to first singing shot as a close or mid shot of the artist.
4. Group your shots together -- Focus on one person at a time and don't put a clip of the artist right before a close up of a guitar because it makes it look like the artist is also playing the guitar. Try and do at least two shots of each person i.e. wide and close
5. Cut to movement, or also known as graphic movement match -- within each element try and find some movements that the performer could do that can be cut together to make a fluid movement.

Editing a music video will take longer than our thrillers because there is a lot more to consider during the process and the length of the film is generally longer. There were some things that we can do to help us get through the size of the edit:
- Drawing a plan similar to your timeline will help. If you stick to it, then we as a group will all be on track with where the video is going and where it's going next, it will also help us increase the climax of the video.
- Focus on 10 seconds at a time. If you focus on this and make it the best 10 seconds and then have a break and come back to do the next 10 seconds, the edit will get stay consistent but also fresh and unique because you won't be blowing out your steam too soon.
- Ignore the idea of making a rough cut because then you'll end up purposely making a bad edit, go for the best edit right from the start because it will keep you on your toes and not waste the time of a rough cut.
0 comments:
Post a Comment